Posts
-
General presentation !
General objective of this project
The goal of this project is to design two open-source plugins for Blender, which is a computer graphics software. One of these plugin will be able to render and animate crowds, and the other one to design environments by making different elements such as rivers and mountains automatically interact to produce realistic scenes. Although this kind of software is already developed in the Computer Graphics industry, it is often unavailable to the public and not of free use.
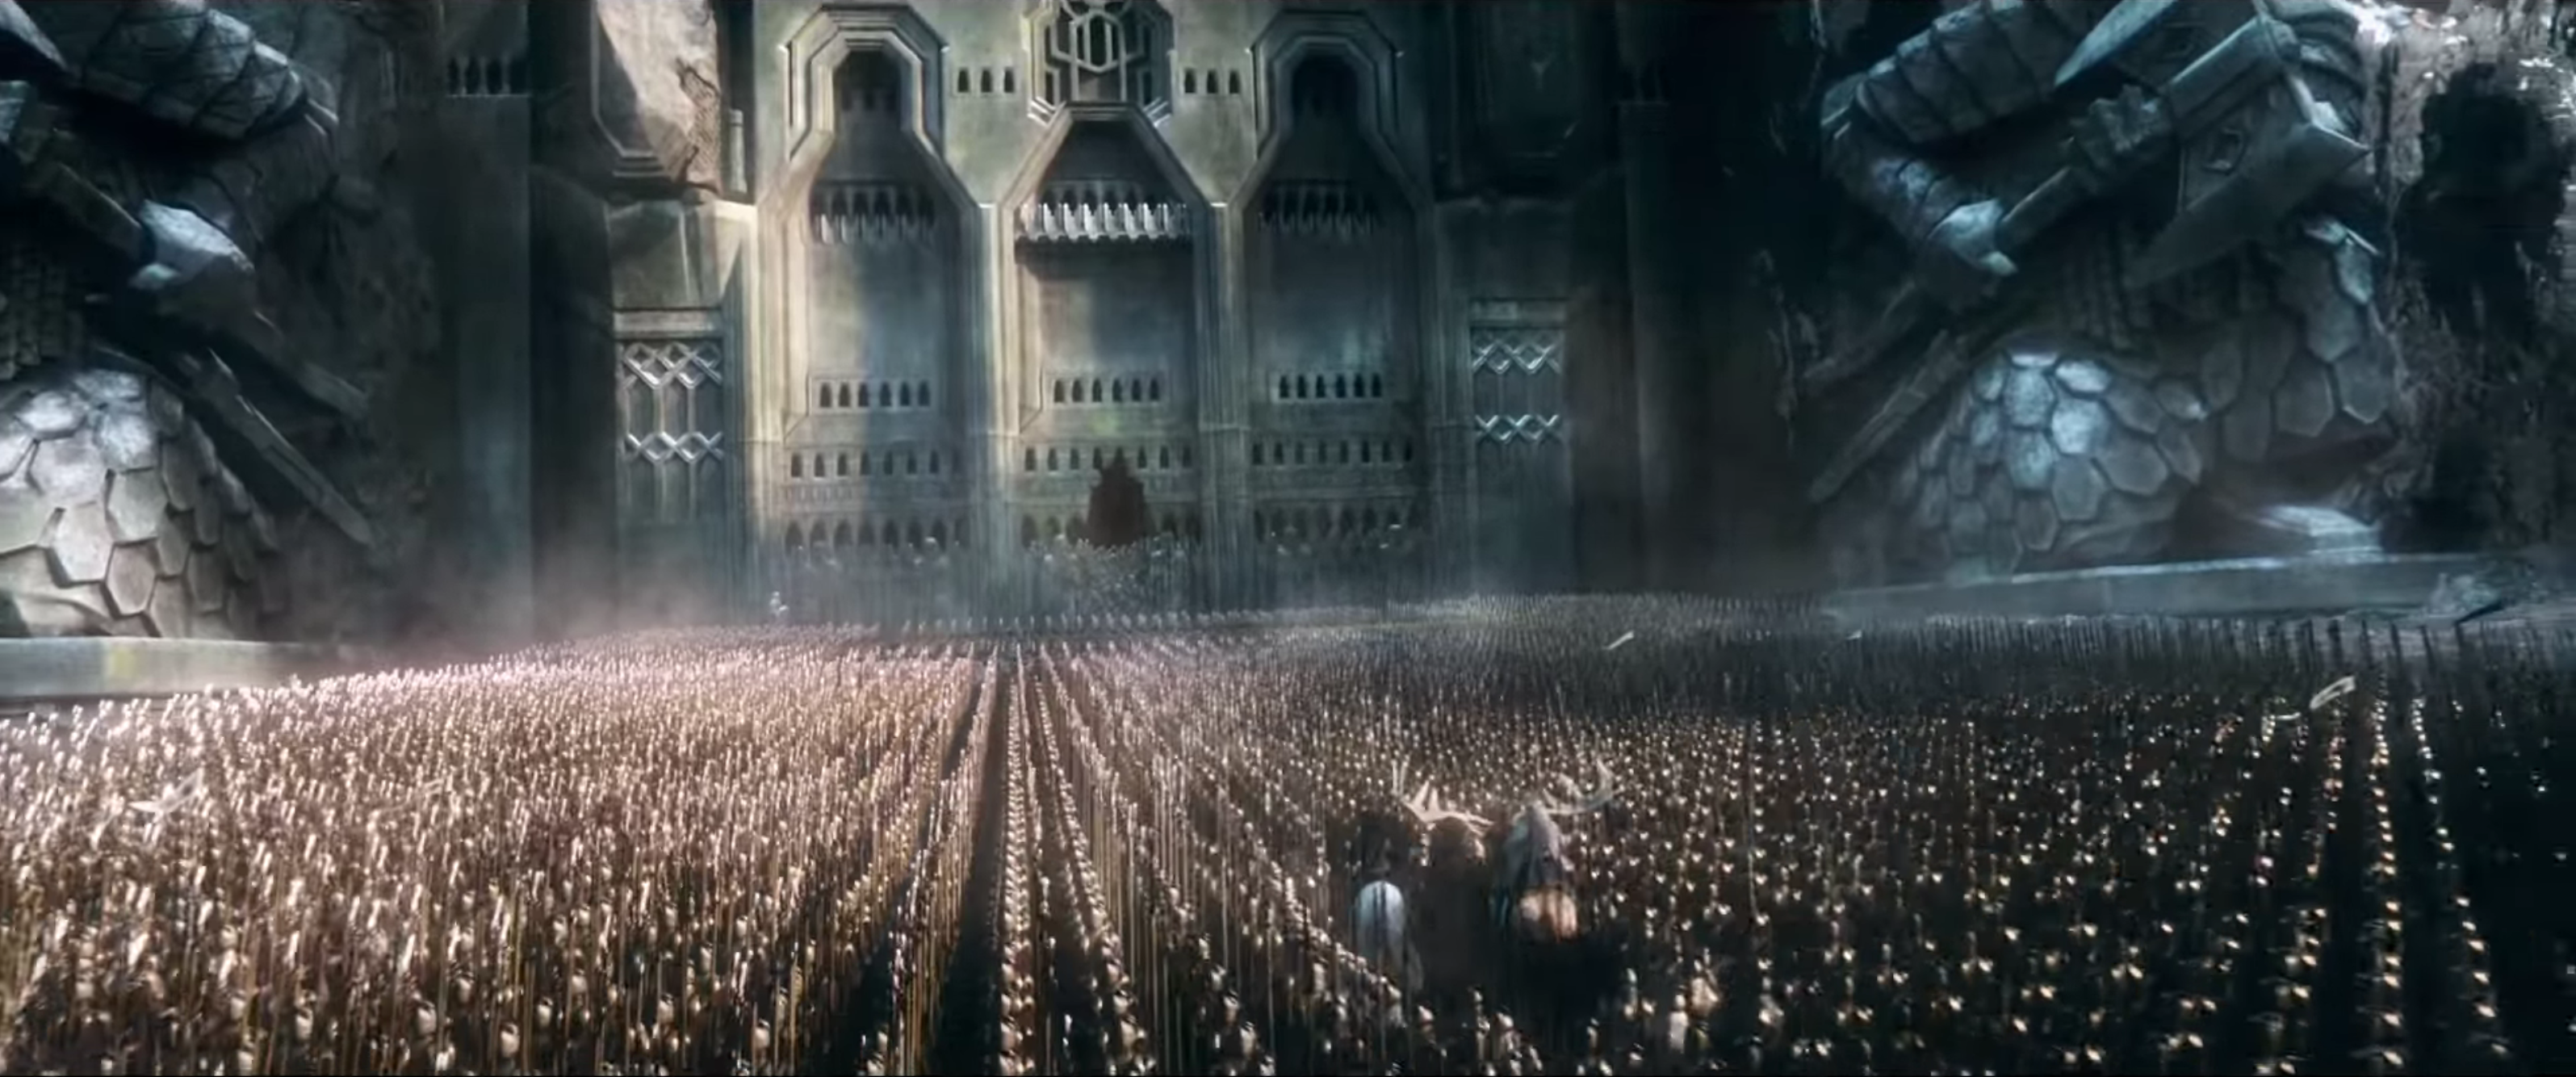 Scene taken from The Hobbit
Blender
Blender is a free software of 3D animation. See their website.
State of the art
Here is a brief state of the art, more informations will be provided on each work package page.
Crowds
We mainly based our work on an article called PLEdestrians A Least-Effort Approach to Crowd Simulation (some images are on the website of the article).

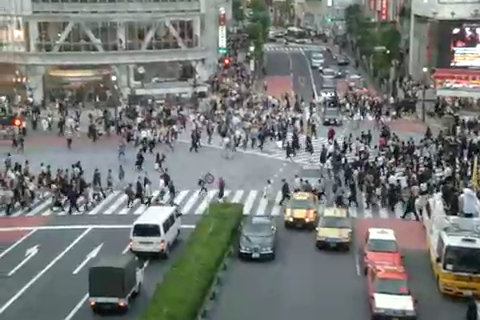
Simulated crowd from PLE Real scene Envs
We thought the ideas presented in “A declarative approach to procedural modeling of virtual worlds”, Smelik et al were really interesting, and we tried to implement the same ideas into blender.
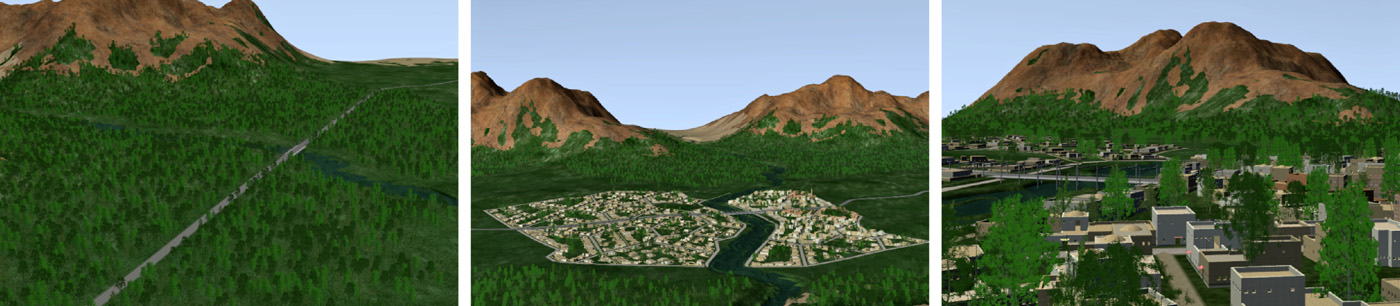
Simulated crowd from “A declarative approach to procedural modeling of virtual worlds”
Work packages
We split our teams into different working packages. In bold are the heads of each work package.
- WP1: Communication coma94, joseif, rmonat
- WP2: Blender Code coma94, PijusSimonaitis, rmonat
- WP3: Bibliography on crowds d1laj, joseif, vlutfall
- WP4: Bibliography on environments bboisson, gullcomb, omariott
- WP5: Crowds plugin development d1laj, coma94, joseif, PijusSimonaitis, vlutfall
- WP6: Environment plugin development bboisson, coma94, gullcomb, omariott, rmonat
- WP7: GUI development coma94, rmonat, vlutfall
- WP8: Trailer d1laj, coma94, joseif
Support and contact
Please get in touch with rmonat if you want more informations concerning this project.
-
Presentation of the Communication Work Package
The goal of this package is to handle the advertising of the whole project. It includes:
-
writing the proposal and the reports (mid-year report and final report)
-
taking notes during each meeting
-
creating this website
-
-
Presentation of the Blender Code WP
The goal of this work package was to explore the inner workings of Blender and its scripting interface. We also presented the Python language and the scripting interface of Blender to the whole group. In addition to that, we also implemented unitary tests linked to Github, as well as coverage tests.
-
Working packages on crowd simulation
Bibliography on Crowd animation (WP2)
The goal of this work package is to find how to simulate large crowds in a rather realistic manner. After a few researches we have noticed that the crowds can be divided into two types: moving crowds and motionless crowd. We have decided focus on moving crowds.
There are two major difficulties in the simulation of moving crowds. Firstly we have to generate the path that each person will follow. Then we have to coordinate the motions of the moving characters (its foots, arms, …) according to their speed, as well as the calculated path and the slope.
Generation of the path
The strategy used for the crowd simulation is the least-effort approach given in PLE.\ In this algorithm each individual has an objective. The trajectory is optimised by computing the minimum energy cost in between the starting point and the arrival point (the objective). To find this minimum we use Euler’s method: at each time step we compute the minimum cost path on a small distance. The “far” trajectory is needed for this computation, and so we approximate it using a graph containing the allowed positions on the environment, the “far” trajectory is just a min-cost path on the graph. By iterating, this method provides us a set of points that describe the path followed by each character.
This algorithm takes into account of the velocity of each character. And the velocities are chosen so that there is no collision between two characters, and between a character and the environment.
The reachable points on the environment are described by a level map, and by a set of polygons excluding some zones. A graph is used, as we said before, to approximate the remaining distances. Its edges are weighted by the distances between two points. Each character can go to different vertices.
In order to have an easy way to move large crowds (and not have to set individual objectives to hundreds of people) we decided to allocate to each set of characters a set of points of interest with a given probability to go to one of them. For the sake of simplicity, we will start with only one goal per character.
We also thought about how to take into account the altitude of the world. For example, if there is a mountain, it is sometime more efficient to bypass it. The idea we had for that is to modify the weight of the edges in function of the height of the point.
Motions of the characters
Simulating the motion of characters seems to be really difficult in Blender, and we did not really anticipate that this would be so difficult. As a result, Victor and Pijus have been finalising the bibliographical part for some time, even if the rest of the work package moved to the implementation part.
The first goal of this group was to find out what was already done in Blender concerning automatic walking. All Blender-related resources on walking animation are gathered on a web-pageblwikiwalking. Walk-o-matic and stride add-ons were used in previous versions of Blender to “help to interactively design rough passes of a walk” and “quickly create cycles for background or extra characters”, however both are broken on Blender 2.7 (we are using Blender 2.76). Walk-o-matic was still working on 2.67 and parts of its script might be reused.
A more theoretical survey of Computer animation of Human walking can be found in th_walking, Victor did more research on this topic. However during the discussions we have decided that realistic motion itself is not our highest priority and we should start with a very basic motion that would not depend on some sophisticated properties of blender as this might make it incompatible with further versions.
Thus we have shifted our attention to the basic animations of walk cycles. To begin with, we have analysed lots of tutorials for blender character animation. The best detailed one is available on YouTube tuto_walk.
Now, after learning to create basic animations by hand, we are in the position to start coding: given the set of points we have to interpolate a path passing through them and make our character follow this path while adapting its speed between the points. During the last meeting we found out how to create a path we want.
There is a manual for Moving Objects on a Path available on Blender’s website manual_moving. There are at least three ways to move objects around, we will probably choose “The Follow Path Constraint” as it is the most conventional one, however “The Clamp To Constraint” is not yet ruled out.
Crowd plugin development (WP4)
Generation of the path
The algorithm of least-effort approach is divided in many points.
-
Computing an approxiamation graph to give an indication of the distance remaning to travel to the goal of the individual. We englobe the whole ground zone with a grid of a given mesh to reprensent this graph.
-
Finding the exclusion zones that cannot be crossed by the individuals of the crowd. They will be given by a set of polygon that will be projet on the surface where the individual travel.
-
Computation of the authorised velocity field that will be collinsion proof. This will be done by an approximation algorithm that will represent the field by an intersection of half-planes.
-
Computation of the best velocity to choose by doing minimum on a graph with the $A*$ algorithm to approximate the remaning distance after traveling during dt at this velocity.
-
Update of the graph with the attribution of a new weight on the edges: each character affect the weight of its neighbour edges to represent conjection. The way we will do this is still not fixed and will be decided by trying impericactly some ways.
We also started coding the classes that we will use (summarised on Figure [crowd_classes]):
- Graph
-
This class describes the graph that was set up, with a set of nodes and a dictionary of dictionaries of edges.
- Individual
-
This class describe an individual within the crowd. It includes the position, maximal speed, optimal speed, trajectory and some variables to compute the energy of the individual.
- Crowd
-
contains a set of individuals and the graph.
- Environment
-
gives the set of forbidden regions.
- Blend
-
These are the classes using Blender. They take the corresponding “non-blend” class and convert it into a Blender object, usable in Blender.
We also try to keep as much code as possible independent from Blender. It will lead to easier tests and a more portable code from Blender to another 3D software.
Motions of the characters
As stated in the paragraph [WP2_motion], the bibliographical work on the animation of characters was longer than expected and is currently being finalised: the implementation part has yet not begun.
-
-
Working packages on environments generation
Bibliography on Environment generation (WP3)
During our bibliographical work, finding articles was pretty easy, though selecting the ones we will implement was a bit more difficult. We chose to use Layered Architectures, so we can implement “interactions” between pieces of environment that will be automatically processed. We found this concept very elegant and chose to continue with articles using this kind of technique.
We suppose that the global environment is divided into several types of environments (cities, forests, mountains, …), we denote by feature a type of environment. Our goal is to allow the user to “draw” the different features on a map, and then generate automatically the corresponding 3D environment.
The main architecture comes from DeclarativeArchitecture. It is a layered architecture, from large-scale features to low-scale ones. Each feature covers a user-delimited area, which may be further reduced because of conflicts with the surrounding features. The modularity of the architecture allows features to be edited independently of each other. The output may include: a height map, a texture map and additional objects to be added on top of this such as: a water map, vegetation or buildings. The height map is generated using the tree structure described in FeatureTree. The conversion from the layered architecture amounts to choosing the appropriate merging nodes: the leaves are exactly the features of the layers. Furthermore, this representation can compute the height of the final map at any point, allowing a greater level of detail when and where needed.
Generating cities is done in three consecutive steps:
-
Create the road network. This will be done using the method proposed in StreetTensors, which seems to support easy edition.
-
Divide each block into parcels, following the method given in PGParcels.
-
Generate a building in each parcel. This can be done either using predefined buildings or procedurally generated using L-systems, as in FLSystem.
Environment plugin development (WP5)
The articles mentioned in part [WP3] describe quite precisely the algorithms usable to build and merge the different features. The work done for the code of the environment part was to organise the different algorithms into several classes (summarised on Figure [env_classes]). The main classes are:
- Feature
-
This class is like an abstract class. It is the base from which every feature inherit, to allow us to manipulate generic feature in our code.
- FeatureTree
-
This class build the tree of the features, depending on their positions and thus their interactions. It also solves the “merge” of the different features.
- Environment
-
This one is the final 3D environment, which uses the 3D models and the feature tree to build the 3D environment.
- BlendEnvironment
-
This class is the only one depending on Blender, it converts the Environment class to allow it to be displayed and used into Blender.
-
-
Presentation of the GUI development WP
GUI development
The purpose of this work package is to ensure that when Graphical User Interface will be developed, they will be consistent with Blender User Interface. To do this, we will have to explore the Blender documentation, to see if some written guidelines exist. Otherwise, we will need to get in touch with the Blender community to see if our drafts of GUI will be natural and easy to use by Blender artists.
-
Presentation of the demonstration/trailer WP
Trailer development (WP7)
At the day of writing, this work package has not really been active. Its purpose, on the long term, is to have a working demonstration of our tools, so we will be able to promote our software with a real example of what can be achieved using it. In the coming months, we will need to consider different scenarios and scenes we would be able to render. We may have to contact some artists using Blender, but some of us know (at least the basics) of Blender animation.